

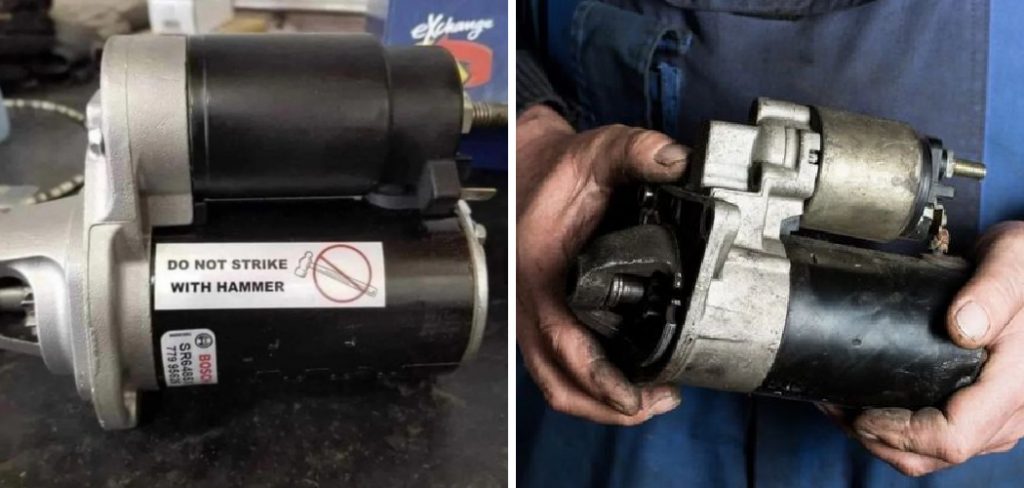
When dealing with a non-responsive starter motor in your vehicle, a time-tested method often recommended by seasoned mechanics is giving it a few gentle taps with a hammer.
This technique can temporarily restore functionality and get your engine running, especially in emergency situations when professional help isn’t immediately available.
However, it is important to approach this method with caution to avoid causing further damage. In the following sections, we will guide you through the step-by-step process of how to hit starter with hammer.
Why Does This Method Work?
Before we dive into the steps, it’s important to understand why hitting the starter with a hammer can work in certain situations.
When a starter motor fails to engage or turn over the engine, it could be due to various reasons such as electrical issues, mechanical failures, or worn out components.
In some cases, these problems can be caused by stuck or dirty parts within the starter mechanism.
Giving it a few gentle taps with a hammer can help loosen and free up any stuck parts, allowing the starter to function properly again.
However, this method is only a temporary solution and should not be used as a permanent fix for a faulty starter.
Needed Materials
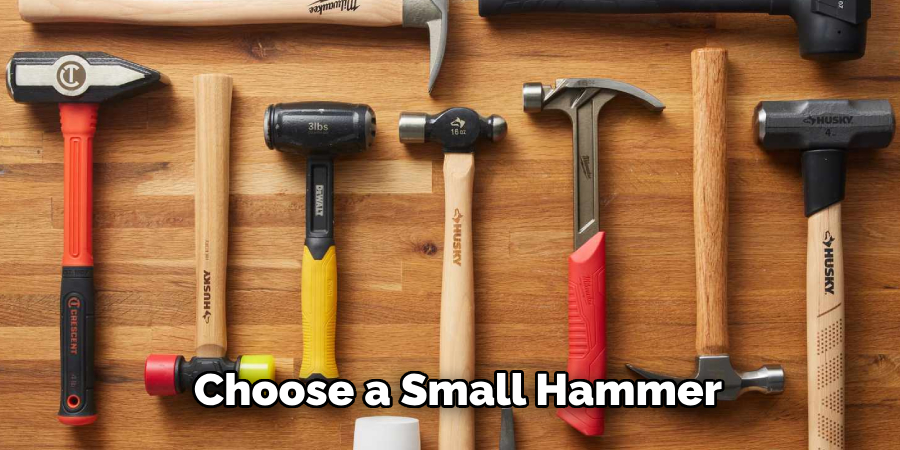
Hammer:
Choose a small hammer with a sturdy grip for this task. A ball-peen or claw hammer is ideal, but any household hammer will do as long as it’s not too heavy.
Protective Gear:
Always wear protective gear such as gloves and safety glasses to prevent injuries while working on your vehicle.
Other Tools:
You may also need a flashlight and wrench, depending on your vehicle’s make and model.
6 Easy Step-by-step Guidelines on How to Hit Starter With Hammer
Step 1: Safety First
Before you begin, ensure that your vehicle is in a safe and stable position. Park it on a flat surface and engage the emergency brake to prevent any accidental movement. Turn off the engine and remove the keys from the ignition. It’s also a good idea to disconnect the battery to avoid any electrical shocks or short circuits.
Put on your protective gloves and safety glasses to protect yourself from any debris or potential injury. Make sure the area you are working in is well-ventilated and free from flammable materials. Safety should always be your top priority while performing any vehicle repairs.
Step 2: Locate the Starter Motor
The next step is to locate the starter motor in your vehicle. The starter motor is typically found on the engine block, often near the bottom, and may be cylindrical in shape. Start by consulting your vehicle’s manual for the exact location, as it can vary depending on the make and model of your car.
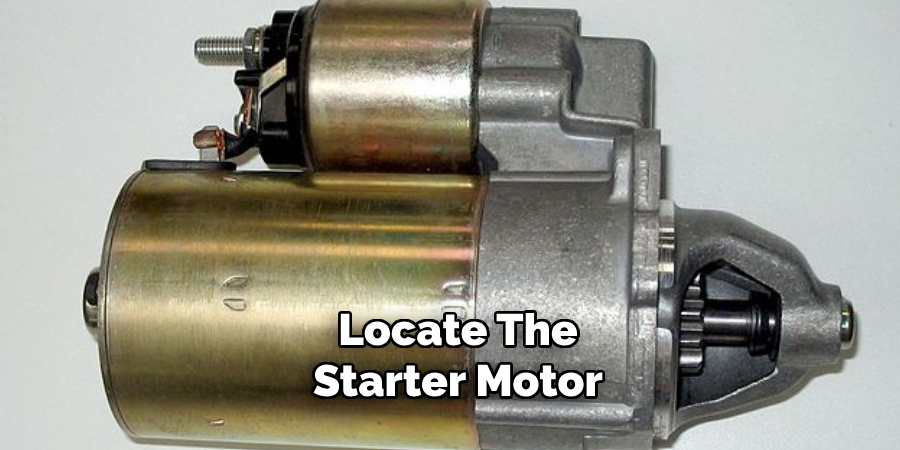
Using a flashlight, look under the hood or beneath the vehicle if necessary to find the starter motor. It is usually connected to the battery by a thick cable. If you’re having trouble locating it, consider looking up a diagram or a how-to video specific to your vehicle model.
Once you’ve found the starter motor, ensure that you have clear access to it and that there are no obstructions in your way before proceeding to the next step.
Step 3: Prepare the Hammer
Now that you have located the starter motor, it’s time to prepare your hammer. Select a hammer that is small enough to maneuver easily in the often-tight space around the starter motor.
A ball-peen or claw hammer is recommended for its size and ease of use. Before using the hammer, ensure it is clean and free of any oil or debris that could cause it to slip from your grip. Firmly grasp the hammer handle to maintain control while tapping the starter.
Remember, the goal is to apply gentle taps, not strong blows, to avoid damaging the starter or surrounding components. With your hammer ready, you can proceed to the next step with confidence.
Step 4: Tap the Starter Motor
With your hammer in hand, you can now begin tapping the starter motor. Start with gentle taps on the side of the starter, avoiding any electrical connections or wires. If that doesn’t work, try tapping on different areas of the starter while someone else tries to start the engine.

This technique may require some trial and error, so be patient and keep trying until you get a response from the starter.
Remember not to use excessive force as it can cause more harm than good. The key is to gently tap and shake any stuck parts loose rather than forcefully hitting them. You can repeat this step a few times before moving on to the next one.
Step 5: Test the Starter
Once you’ve tapped the starter motor, try starting your vehicle again. If the engine turns over and starts normally, congratulations! You have successfully hit your starter with a hammer.
However, keep in mind that this is only a temporary solution and may not work every time. It’s important to have your vehicle inspected by a professional mechanic as soon as possible to prevent further issues.
If your car still doesn’t start after tapping the starter, it could be due to other underlying problems that require further diagnosis and repair. In this case, it’s best to seek professional help.
Step 6: Replace the Starter (if needed)
If your vehicle fails to start even after tapping the starter motor, it may be time to consider replacing the starter entirely.
To do this, first disconnect the battery to ensure your safety while working with electrical components. Next, locate and remove the bolts and electrical connections attached to the starter motor, taking care to note their positions for reinstallation.
Carefully remove the faulty starter motor from its mounting position.
Now, take your new starter and position it in place, ensuring it is correctly aligned with the mounting points.

Reattach the electrical connections and secure the mounting bolts firmly. Once everything is securely in place, reconnect the battery and test the new starter by attempting to start your vehicle. If the engine starts smoothly, you have successfully replaced your starter.
Make sure to keep a record of the replacement for future reference and maintenance. For additional assurance, it might be helpful to have the installation checked by a certified mechanic.
Following these simple steps on how to hit starter with hammer, you can hit your starter with a hammer and get your vehicle back on the road. However, remember that this is only a temporary solution and should not replace proper maintenance and repairs by a professional mechanic.
Always prioritize safety first, and if in doubt, seek professional help to avoid any further damage or accidents. Happy driving!
Frequently Asked Questions
Q: Is Hitting the Starter With a Hammer a Long-term Solution?
A: No, it is only a temporary fix and should not replace proper maintenance and repairs by a professional mechanic. The issue could be caused by other underlying problems that require further diagnosis and repair.
Q: Can I Use Any Hammer to Tap the Starter Motor?
A: A small hammer, such as a ball-peen or claw hammer, is recommended for its size and ease of use. Make sure the hammer is clean and free of any debris before using it.
Q: Is it Safe to Hit My Starter With a Hammer?
A: Yes, as long as you take proper safety precautions such as wearing protective gear and disconnecting the battery before working on the starter motor.
However, if you are unsure or uncomfortable with DIY repairs, it’s best to seek professional help. Remember to always prioritize safety first.
Q: What if My Vehicle Still Won’t Start After Hitting the Starter With a Hammer?
A: If the issue persists, it’s best to seek professional help as there could be other underlying problems that require further diagnosis and repairs.
Continuing to hit the starter with a hammer may cause more harm than good. It’s important to have your vehicle inspected by a certified mechanic to ensure the safety and functionality of your vehicle.
Conclusion
While hitting the starter motor with a hammer can be a quick and temporary solution to get your vehicle running again, it is not a permanent fix.
This method should only be used in emergency situations and with caution, following the safety guidelines on how to hit starter with hammer provided. It’s crucial to address the root cause of the issue by having your vehicle inspected and repaired by a professional mechanic.
Proper and regular maintenance of your vehicle’s components can prevent such problems from occurring in the first place.
Remember, safety should always come first when performing any type of vehicle repair, and seeking professional help when in doubt is always the best course of action. Safe driving!
Edmund Sumlin is a skilled author for Metal Fixes, bringing 6 years of expertise in crafting a wide range of metal fixtures. With a strong background in metalwork, Edmund’s knowledge spans various types of fixtures, from decorative pieces to functional hardware, blending precision with creativity. His passion for metalworking and design has made him a trusted resource in the industry.
Professional Focus:
- Expert in Metal Fixtures : Edmund aesthetic specializes in creating durable and innovative metal fixtures, offering both appeal and functionality. His work reflects a deep understanding of metalworking techniques and materials.
- Sustainability Advocate : He is dedicated to using sustainable practices, ensuring that every fixture is crafted with eco-friendly methods while maintaining high-quality standards.
In his writing for Metal Fixes, Edmund provides valuable insights into the latest trends, techniques, and practical advice for those passionate about metal fixtures, whether they are professionals or DIY enthusiasts. His focus on combining artistry with engineering helps others discover the true potential of metal in design.