

Have you ever looked at the welds on your empty gas tank and wondered how on earth they were able to fuse the metal together safely without causing an explosion? Welding a gas tank requires advanced skills, precision, and understanding of safety measures to prevent catastrophe. As an experienced welder, I’ve soldered countless projects over the years, but gas tanks present unique risks that can’t be taken lightly.
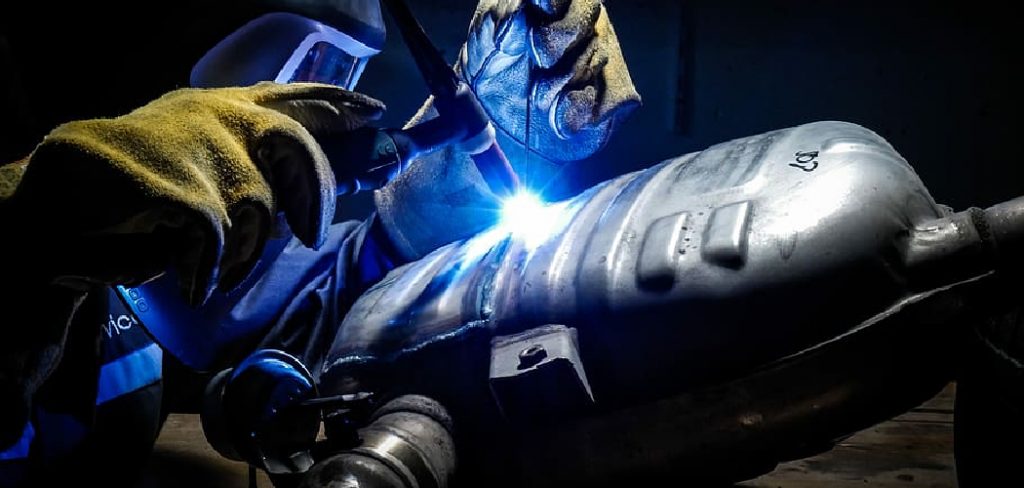
In this blog post on how to weld a gas tank, I’ll walk you through the entire process – from prepping the tank to finishing welds – and share key lessons I’ve learned to help ensure your safety. By following strict protocols and using the right techniques, it is possible to join pieces of metal together to hold fuel without incident. Are you ready to learn how the professionals do it? Let’s get started!
Things to Consider Before Welding a Gas Tank
- The Type of Fuel the Tank Holds
- The Material of the Tank (Aluminum, Steel, or Plastic)
- The Thickness and Condition of the Tank
- Any Existing Damage or Rust on the Tank
- Proper Ventilation and Safety Equipment
- The Welding Method to be Used (TIG, MIG, Stick)
10 Simple Step-by-step Guidelines on How to Weld a Gas Tank
Step 1: Preparing the Tank
Before beginning any welding project, proper preparation is key. For gas tanks, this includes thoroughly cleaning the tank to remove any fuel residue and debris.
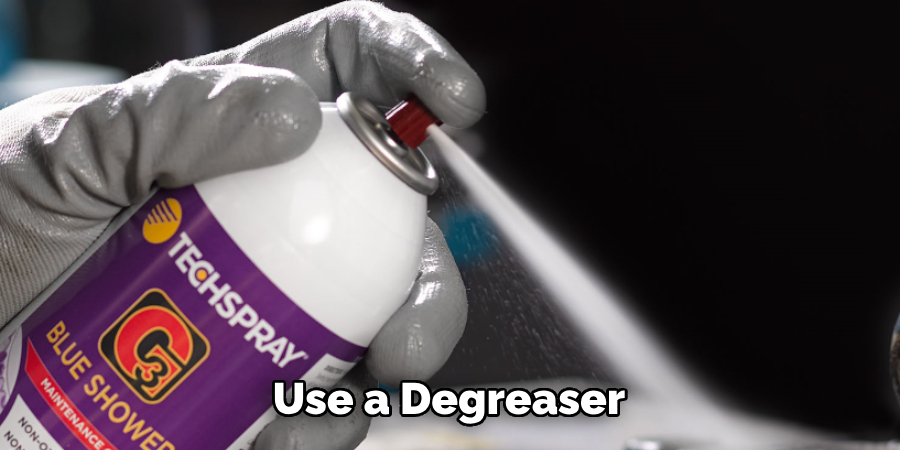
Use a degreaser and let it sit for a few minutes before wiping it down with a clean cloth or paper towel. Any remaining fumes can ignite during welding, so be sure to follow all safety precautions. You should also drain the tank of any remaining fuel and allow it to dry completely before proceeding.
Step 2: Draining the Tank
To avoid potential hazards, it is crucial to drain the gas tank entirely. This also allows you to inspect the inside of the tank for any damage that may need repair before welding. The best practice is to let the tank sit for a few days to ensure all fuel has evaporated, and then rinse it out with water to remove any remaining residue. The tank should be completely dry before moving on to the next step. But, if you’re in a time crunch, using compressed air can help speed up the drying process.
Step 3: Inspecting for Damage
Before welding, give the gas tank a thorough inspection for any existing damage or rust. If you find any cracks, holes, or other defects, they must be repaired before proceeding with welding. These weak spots can cause leaks and potential hazards once the tank is back in use. It is also essential to check the thickness of the tank’s walls and make sure they meet the specifications for welding.
Step 4: Choosing the Right Welding Method
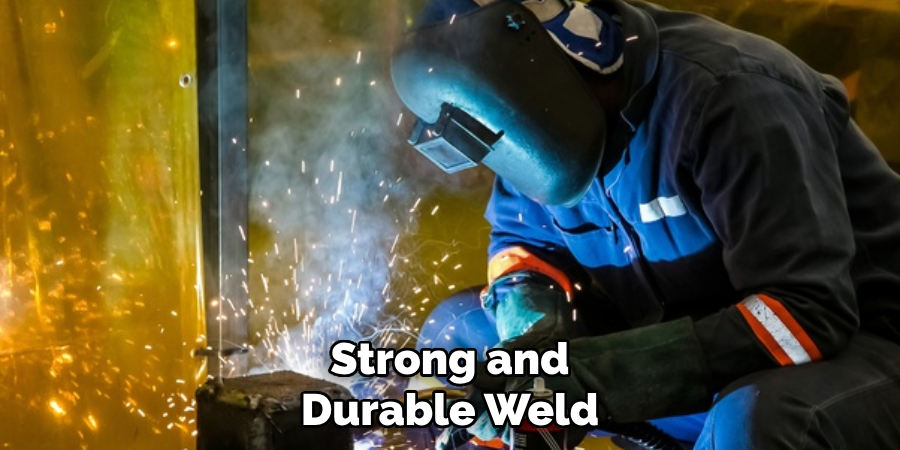
The welding method you choose will depend on the type of gas tank, its material, and its thickness. For aluminum tanks, TIG (Tungsten Inert Gas) welding is considered the best choice for precision and clean welds. For steel tanks, MIG (Metal Inert Gas) or Stick welding can be used, depending on the thickness of the tank. It is crucial to choose the appropriate method to ensure a strong and durable weld. It is also recommended to practice welding on a scrap piece of metal before starting on the actual tank.
Step 5: Preparing the Welding Area
Welding should always be done in a well-ventilated area with proper safety equipment. Make sure there are no flammable materials nearby and that you have access to a fire extinguisher in case of emergency. The welding area should also be clean and free of any debris or clutter that could cause tripping hazards. You should also have a fire blanket on hand to quickly smother any potential fires.
Step 6: Setting up the Welding Equipment
Each welding method requires different equipment, so make sure you have everything set up correctly before starting. For TIG welding, this includes a tungsten electrode, shielding gas, and a TIG torch. For MIG welding, you will need a wire feed unit, shielding gas, and a welding gun. For Stick welding, you will require an electrode holder and cables.
Step 7: Welding the Gas Tank
It’s time to weld! Remember to start with small tack welds around the edges of the tank before moving on to longer welds. This helps prevent warping and distortion of the tank’s shape. When welding, make sure you are using proper techniques, such as keeping a steady hand and moving at a consistent pace to ensure even penetration. You should also pause periodically to allow the tank to cool down and prevent overheating.
Step 8: Inspecting the Welds
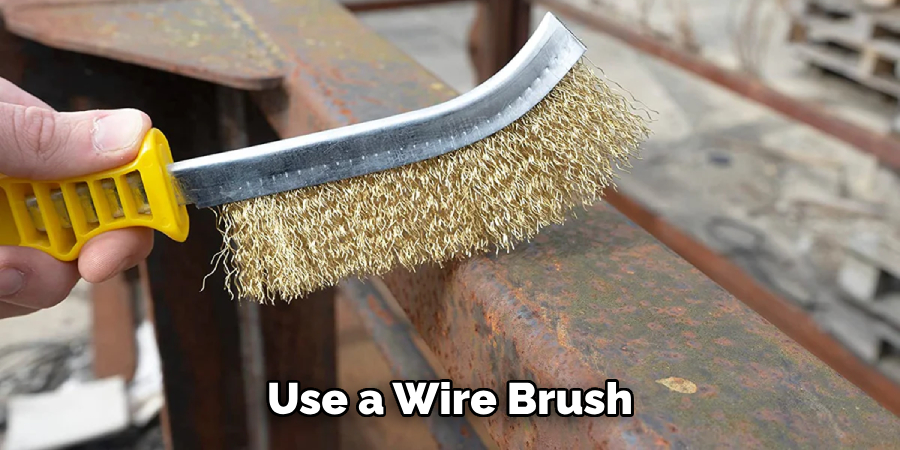
After completing the welds, it is essential to inspect them thoroughly for any defects or weak spots. Use a wire brush to remove any slag from the welds and visually check for any cracks or holes. You can also use a dye penetrant test to ensure there are no hidden defects in the welds. The welds should be smooth and solid with no visible imperfections.
Step 9: Post-weld Clean-up
Once you have finished welding, it’s time to clean up the area and dispose of any waste safely. Make sure to properly store your welding equipment and any leftover materials, such as filler wire or electrodes. You should also inspect the surrounding area for any signs of damage or debris that may have fallen during the welding process.
Step 10: Final Checks Before Use
After completing all the steps for welding a gas tank, it’s essential to perform final checks before putting it back into use. This includes checking for leaks by filling the tank with water and monitoring for any drips or weeps. You should also make sure all safety precautions are in place, such as a fuel regulator and pressure gauge, to prevent any potential hazards.
Following these steps on how to weld a gas tank and taking all necessary precautions is vital to ensure the safe welding of a gas tank. Remember, never rush through the process and always prioritize safety above all else. Properly welded gas tanks can provide long-lasting and reliable fuel storage for a variety of purposes, from vehicles to generators. So if you’re ready to take on the challenge of welding a gas tank, follow these guidelines, and you’ll be an expert in no time!
Frequently Asked Questions
Q1. Can I Weld a Gas Tank Without Draining It?
Ans: It is not recommended to weld a gas tank without completely draining it first. The fumes from the remaining fuel can be highly flammable and pose a safety hazard during welding. It is essential to follow all safety precautions and properly prepare the tank before beginning any welding work.
Q2. Can I Use Any Welding Method for All Types of Gas Tanks?
Ans: The type of welding method you use will depend on the material and thickness of the gas tank. For example, TIG welding works best for aluminum tanks, while MIG or Stick welding can be used for steel tanks. It is crucial to choose the appropriate method to ensure a strong and durable weld.
Q3. How Do I Prepare for Welding a Gas Tank?
Ans: Before beginning any welding work on a gas tank, it is crucial to drain and thoroughly inspect the tank for any existing damage or rust. You should also make sure you have all the necessary equipment and a well-ventilated work area. Safety precautions should always be your top priority when preparing to weld a gas tank.
Q4. What Should I Do If I Find Any Cracks or Holes in the Gas Tank?
Ans: If you find any cracks, holes, or other defects in the gas tank during inspection, they must be repaired before proceeding with welding. These weak spots can cause leaks and potential hazards once the tank is back in use. It is essential to address any damage before beginning the welding process.
Conclusion
In conclusion, mastering the art of welding a gas tank is a valuable skill for any DIY enthusiast or professional welder. It requires attention to detail, safety precautions, and practice to ensure successful results. From preparing the tank to selecting the proper welding technique, we have covered all the necessary steps in this blog post. Remember to always prioritize safety when working with flammable materials like gas.
Double-check your equipment and take the time to properly set up your workspace before beginning any welding task. And most importantly, never be afraid to seek help or advice from a professional if needed. With determination and patience, you can confidently weld a gas tank and complete various welding projects with ease.
Whether it’s repairing an old gas tank or creating a custom one for your vehicle, these skills will come in handy every step of the way. So go ahead and put your new knowledge into practice – we can’t wait to see what you create! Thank you for joining us on this journey of learning how to weld a gas tank. Happy welding!
Edmund Sumlin is a skilled author for Metal Fixes, bringing 6 years of expertise in crafting a wide range of metal fixtures. With a strong background in metalwork, Edmund’s knowledge spans various types of fixtures, from decorative pieces to functional hardware, blending precision with creativity. His passion for metalworking and design has made him a trusted resource in the industry.
Professional Focus:
- Expert in Metal Fixtures : Edmund aesthetic specializes in creating durable and innovative metal fixtures, offering both appeal and functionality. His work reflects a deep understanding of metalworking techniques and materials.
- Sustainability Advocate : He is dedicated to using sustainable practices, ensuring that every fixture is crafted with eco-friendly methods while maintaining high-quality standards.
In his writing for Metal Fixes, Edmund provides valuable insights into the latest trends, techniques, and practical advice for those passionate about metal fixtures, whether they are professionals or DIY enthusiasts. His focus on combining artistry with engineering helps others discover the true potential of metal in design.