

Muffler plays a crucial role in your vehicle’s overall performance, and any issues relating to it are something you should take seriously. If your muffler has developed cracks or holes, you may think of replacing it, but it can dent your pocket. The good news is that you can fix it yourself by welding it with a torch. Although it may seem daunting, it’s not that difficult with the right tools and techniques. So, let’s dive in and learn how to weld a muffler with a torch effortlessly.
Can You Weld a Muffler with A Torch?
The short answer is yes, you can weld a muffler with a torch. In fact, welding a muffler with a torch is one of the most common methods used by DIY enthusiasts and professionals alike. The process involves using a welding torch to fuse the two pieces of metal together, creating a strong bond that can withstand high temperatures and pressure.
Preparing for the Weld
Assessing the Damage:
Before you begin welding, it’s important to assess the damage on your muffler. Cracks or holes that are too large or in critical areas may not be able to be welded and may require complete replacement. It’s also important to check for any rust or corrosion, as this can affect the strength of the weld.
Gathering Materials:
To successfully weld a muffler with a torch, you’ll need to gather the necessary materials beforehand. This includes selecting the right welding torch and tips based on the muffler material and thickness. You’ll also need welding filler metal that is compatible with the muffler’s material, as well as cleaning tools like wire brushes and sandpaper.
Preparing the Muffler:
Once you have all your materials ready, it’s time to prepare the muffler for welding. Start by cleaning the welding area thoroughly to remove any dirt, grease, or rust that may interfere with the weld.
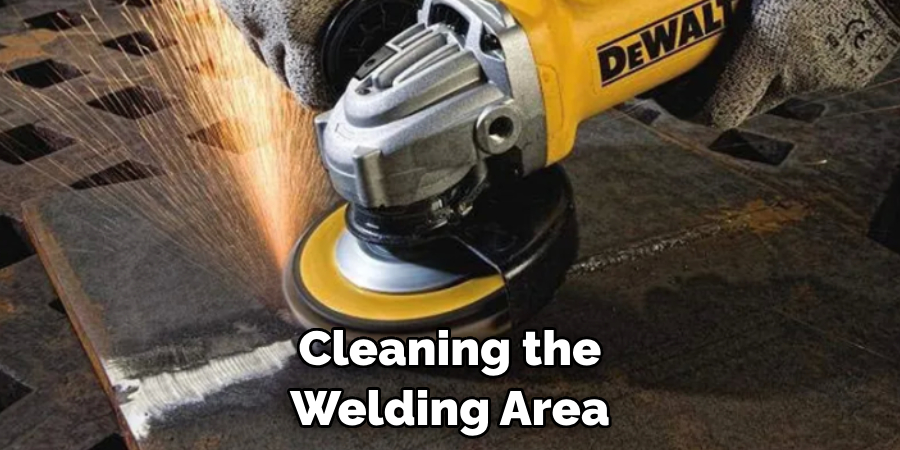
Next, slightly bevel the edges of the crack or hole to create a V-groove. This will allow for better weld penetration and overall strength. Finally, clamp the muffler securely to a stable work surface for easy access and safety while welding.
A Comprehensive Guide on How to Weld a Muffler with a Torch
Step 1: Safety First
Before you start welding, it’s essential to take the necessary safety precautions. Make sure you have proper eye and hand protection gear, such as a welding helmet, gloves, and apron. Also, ensure that your workspace is well-ventilated to avoid inhaling harmful fumes.
Step 2: Prepare the Muffler for Welding
Once you have all your safety gear on, it’s time to start preparing the muffler for welding. Start by cleaning the area where you’ll be welding with a wire brush or sandpaper. Next, use an acetone-based cleaner to remove any remaining dirt or grease.
Step 3: Set up the Torch and Gas
Attach the appropriate welding tip to your torch based on the muffler’s material and thickness. Setting the gas flow rate according to the manufacturer’s recommendations is also important. Generally, a lower gas flow rate is ideal for welding thin metals like those used in mufflers.
Step 4: Apply the Weld
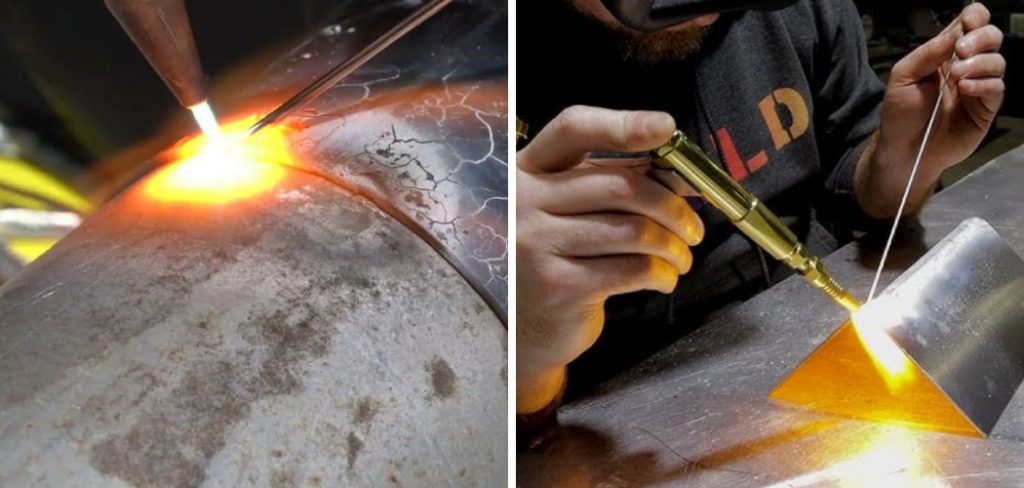
With the torch and gas set up, it’s time to start welding. Hold the torch in your dominant hand and the filler metal in your non-dominant hand. Light the torch and adjust the flame to a neutral or slightly carburizing flame.
Start welding from one end of the crack or hole and move steadily towards the other end, making sure to overlap with the previous weld. Remember to keep the torch at a steady angle of about 45 degrees and use short, circular movements for an even bead.
Step 5: Let it Cool Down
After you’ve completed the weld, allow it to cool down completely before moving or handling the muffler. This will ensure that the weld has fully bonded and is strong enough to withstand high temperatures and pressure.
Step 6: Finishing Touches
Once the weld has cooled down, you can clean up any excess filler metal or smooth out the weld with sandpaper. You can also apply a high-temperature paint to protect the weld from rust and corrosion.

Which Welding Techniques Are Good for You
Oxy-acetylene Welding:
Oxy-acetylene welding is a versatile and widely used method for welding mufflers. It allows for precise control of heat and filler metal, creating clean and strong welds. However, it requires proper training and safety precautions as the torch flame can reach very high temperatures.
MIG Welding:
MIG welding is ideal for larger or thicker mufflers as it allows for faster welding speeds and easier control of the filler metal feed. It can also be used on different materials, such as stainless steel, aluminum, or mild steel. However, it requires a higher level of skill and may not be suitable for small or delicate welds.
TIG Welding:
TIG welding is a highly precise technique that produces clean and aesthetically pleasing welds. It is ideal for thin or delicate mufflers, producing minimal heat and distortion. However, it requires a high level of skill and patience to master, making it more suitable for experienced welders.
5 Considerations Things When You Need to Weld a Muffler with A Torch
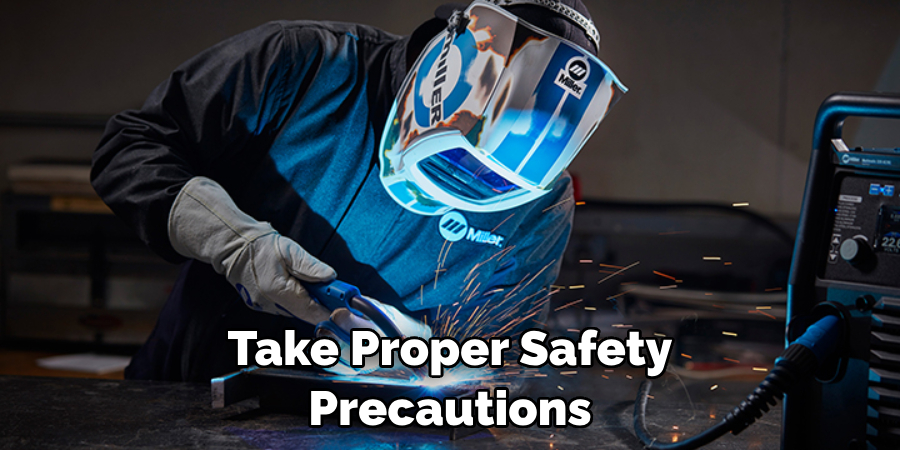
1. Safety Precautions
Before attempting to weld a muffler with a torch, it is essential to take proper safety precautions. Welding can be dangerous and requires the use of protective gear such as gloves, a welding helmet, and long-sleeved clothing. It is also important to have a fire extinguisher nearby in case of any accidents.
2. Type of Torch
There are several types of torches that can be used for welding, including oxy-acetylene, MIG, TIG, and stick welders. Each type has its own advantages and disadvantages, so it is important to choose the right one for the job. For welding a muffler, an oxy-acetylene torch may be the best option as it allows for precise control over the heat and flame.
3. Materials Needed
In addition to a torch, there are other materials that will be needed for welding a muffler. These include filler rods or wire, flux-cored wire (if using a MIG welder), and cleaning tools such as a wire brush or sandpaper. It is also important to have access to a well-ventilated area as welding can produce harmful fumes.
4. Proper Technique
Welding a muffler requires skill and proper technique to ensure a strong and secure weld. The first step is to clean the area where the weld will be made thoroughly. Next, heat up the metal using welding torch until it reaches the correct temperature for welding. Then, use short bursts of heat while moving the torch in small circles around the joint until the metal becomes molten.
5. Post-Welding Care
After completing the weld on your muffler, it is essential to take proper care of it to ensure its longevity. This includes allowing it to cool down completely before handling or installing it back onto your vehicle.
It is also recommended to paint over any exposed metal with high-temperature paint to prevent rusting. Regular maintenance and inspections can also help to identify any potential issues before they become major problems.
Additional Tips for Welding a Muffler with A Torch
- Always follow the manufacturer’s recommendations for gas flow and torch adjustment.
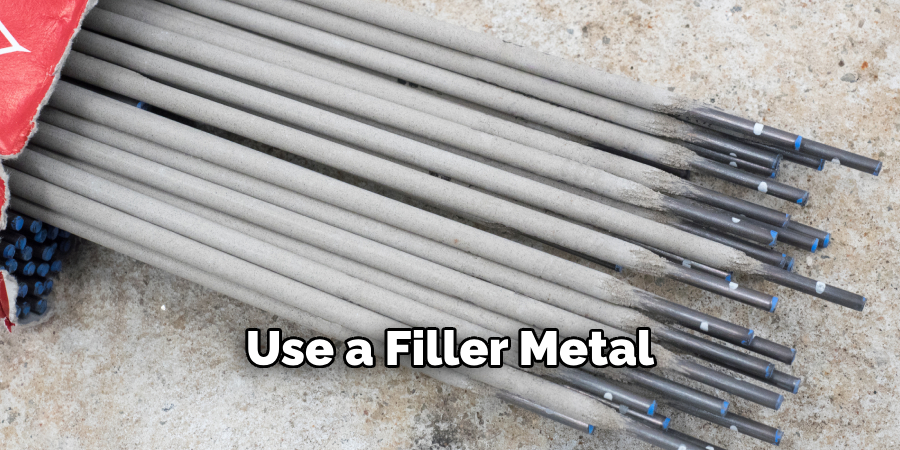
- Use a filler metal that is compatible with the material of the muffler.
- Practice proper ventilation to avoid inhaling harmful fumes.
- If using an oxy-acetylene torch, make sure to regularly check and replace the gas tanks as needed.
- Take breaks and rest your eyes to prevent eye strain from the bright light of the torch.
Remember, welding a muffler with a torch may seem daunting at first, but with proper training and safety precautions, it can be a rewarding skill to have. Follow these steps and considerations for successful welding and always prioritize safety above all else.
Bonus: Troubleshooting Common Muffler Welding Issues
Porosity (air Bubbles) in The Weld:
To troubleshoot porosity in your welds, start by checking your equipment and making sure everything is clean and free of moisture. Use dry shielding gas, as any moisture can cause air bubbles. Also, make sure you are using the correct filler metal for the job.
Cracks in The Weld:
If you encounter cracks in your welds, it could be due to excessive heat, improper filler metal, or contamination of the base metal. To prevent this issue, make sure to control the heat and use the correct filler metal for the job. Also, make sure all surfaces are clean before welding.
Weld Burn-Through:
Weld burn-through happens when too much heat is used and melts through the thin muffler metal. To prevent this, reduce the heat and use smaller welds to distribute the heat evenly. Also, avoid focusing the flame in one spot for too long.
Conclusion
Welding a muffler with a torch requires proper safety precautions, the right type of torch, and materials. Additionally, having knowledge of different welding techniques can help determine which is best for your specific muffler.
Remember to always prioritize safety, use the correct techniques and materials, and troubleshoot common issues for successful welding results. With practice and patience, you can become skilled in welding mufflers with a torch. So, go ahead and confidently tackle that muffler repair project! Thanks for reading our post about how to weld a muffler with a torch.
Edmund Sumlin is a skilled author for Metal Fixes, bringing 6 years of expertise in crafting a wide range of metal fixtures. With a strong background in metalwork, Edmund’s knowledge spans various types of fixtures, from decorative pieces to functional hardware, blending precision with creativity. His passion for metalworking and design has made him a trusted resource in the industry.
Professional Focus:
- Expert in Metal Fixtures : Edmund aesthetic specializes in creating durable and innovative metal fixtures, offering both appeal and functionality. His work reflects a deep understanding of metalworking techniques and materials.
- Sustainability Advocate : He is dedicated to using sustainable practices, ensuring that every fixture is crafted with eco-friendly methods while maintaining high-quality standards.
In his writing for Metal Fixes, Edmund provides valuable insights into the latest trends, techniques, and practical advice for those passionate about metal fixtures, whether they are professionals or DIY enthusiasts. His focus on combining artistry with engineering helps others discover the true potential of metal in design.